Kids’ Clothes Hangers- Types, Sizes and Wardrobe Tips
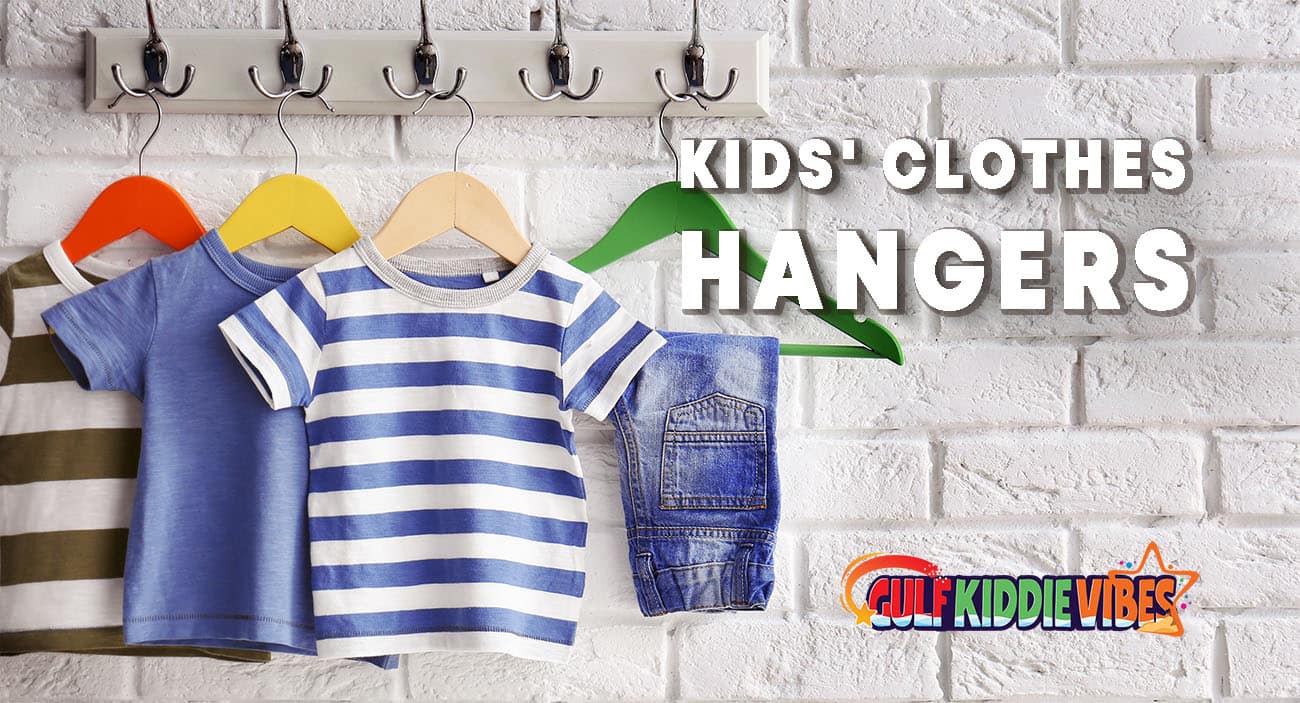
Clothes hangers for kids come in several types, including velvet, plastic, wooden, clip, and baby hangers, each serving a different purpose. Hanger sizes should match your child’s age, starting from 28 to 30 centimeters for newborns up to 42 centimeters by age ten. Organizing a kids’ wardrobe works best when clothes are sorted by type, rotated seasonally, and arranged by color. Using adult hangers on baby clothes, overcrowding the rail, and not updating hanger sizes as kids grow are the most common mistakes to avoid.
Table of Contents
Setting up a wardrobe for a little one feels exciting until half the clothes are sliding off the hangers, tiny onesies are stretched at the neck, and the rail is so crammed that nothing can actually be found.
Most parents spend a lot of time picking out the cutest outfits, but give zero thought to the hangers holding them. And honestly, that makes complete sense. Hangers seem like the most boring purchase on the baby checklist. But the wrong hanger can stretch delicate necklines, leave shoulder bumps on tiny tops, and turn a neat wardrobe into a chaotic pile within days.
When I was setting up a wardrobe for my little one for the first time, I just grabbed whatever hangers were available. A mix of old plastic ones, a few wooden ones left over from adult clothes, and whatever came free with the baby grows. Within weeks, tiny sleeves were drooping, clothes were falling off constantly, and the whole rail looked like a jumble sale. That is when I realised that hangers actually matter a lot more than I expected.
This guide covers everything a parent needs to know about kids’ clothes hangers. From the different types and sizes to how to set up a wardrobe that actually stays tidy.
What Types of Hangers Are There for Kids’ Clothes?
Walk into any store, and the hanger options can feel endless. Velvet, plastic, wooden, clip-on. When I first bought hangers for my little one, I grabbed the cheapest multipack and called it a day. Big mistake.
Different hangers serve very different purposes, and knowing which one does what makes a huge difference in keeping a kid’s wardrobe tidy.
Plastic Hangers
Plastic hangers are probably what most parents start with, and that is completely understandable. They are cheap, easy to find, and come in big multipacks that feel like great value. I bought a huge set before my little one arrived and thought I was sorted.
The problem is that smooth plastic is really slippery. Tiny baby clothes and lightweight tops slide off constantly, and before long, the wardrobe floor becomes the actual storage place. For older kids with heavier everyday clothes, plastic hangers are fine. But for anything small or delicate, they cause more frustration than they are worth.
Velvet Hangers
Velvet hangers were genuinely one of the best swaps I made for my baby’s wardrobe. They are slim, so they free up a surprising amount of space on the rail, and the soft velvet surface grips clothes so well that nothing slides off.
They are also really gentle on delicate fabrics, which matters a lot for newborn and baby clothes. The only small thing to be aware of is that velvet does attract lint over time, so a quick wipe every now and then keeps it in good shape. Worth it though, completely worth it.
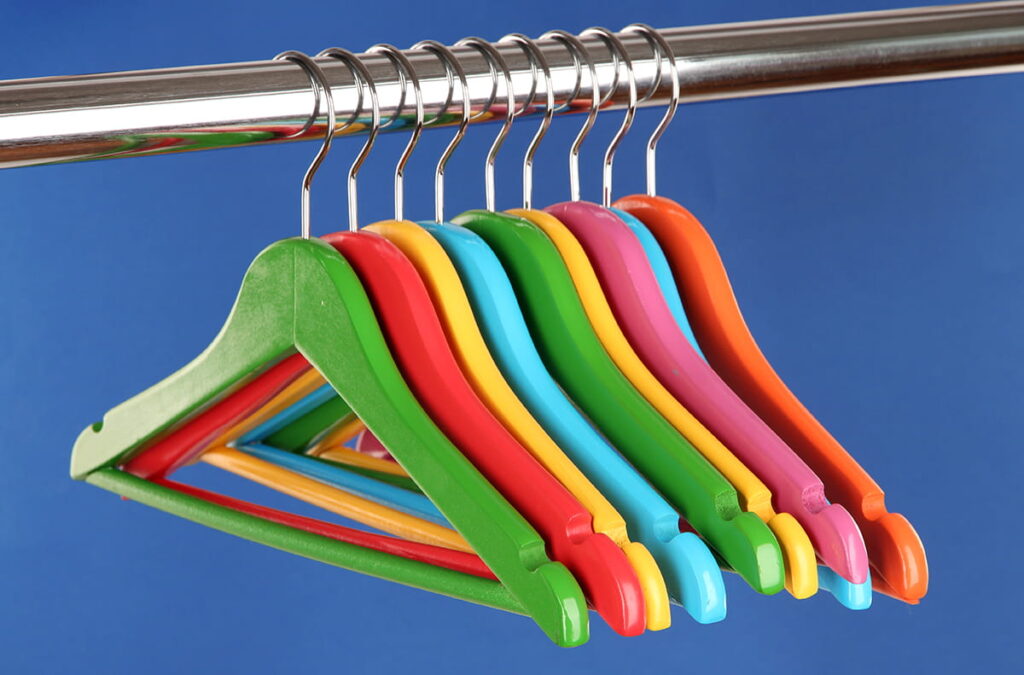
Wooden Hangers
Wooden hangers are the sturdy, grown-up option, and they do have their place in a kid’s wardrobe. For heavier items like winter coats, thick hoodies, and chunky jackets, wooden hangers give proper support that plastic just cannot provide. Clothes hang better and keep their shape for longer.
That said, skip wooden hangers for baby clothes. They are too wide and heavy for tiny garments and will stretch the neckline out of shape quickly. Save them for older kids with heavier clothes that actually need the support.
Clip Hangers
Clip hangers were something I discovered a little later than I should have, and they honestly changed how I organised my kids’ wardrobe. They have two clips at the bottom that hold waistbands firmly in place, making them perfect for skirts, shorts, trousers, and little pinafores.
Before clip hangers, skirts and shorts were always getting creased over regular hangers. Now everything hangs properly and is so much easier to find in the morning. Just look for rubberised clips to avoid marks on delicate fabrics.
Multi-Tier Hangers
Multi-tier hangers are a lifesaver for small wardrobes. You can hang multiple clothes on one hanger and free up a lot of rail space. I started using these when my kids’ clothes were too much for the wardrobe to handle, and they made such a difference.
Baby Hangers
Most people skip baby hangers until they see what the wrong hanger actually does to small clothes. Standard hangers are too wide for newborns’ grows, little vests, and cardigans, and will stretch the neckline and shoulders quickly.
Baby hangers are designed to be around 28 to 30 centimetres wide, fitting clothes from newborn up to around 12 months perfectly.
When I finally switched to proper baby hangers, the difference was immediately obvious. Clothes sat neatly on the rail, nothing got stretched out of shape, and the whole wardrobe suddenly looked so much more organised. It is such a small change, but it makes a big difference.
Which Hanger Works Best for Each Type of Kids’ Clothing?
Knowing the different hanger types is one thing, but knowing which hanger to actually use for each clothing type is where things get practical. I learned most of this through trial and error. After a lot of stretched necklines and misshapen little outfits, I figured out how to solve this issue. Hopefully, this saves other parents from making the same mistakes.
Onesies and Bodysuits
Onesies and bodysuits are trickier to hang than they look. The snaps at the bottom add weight that pulls the neckline down over time. I noticed stretched necks on my baby’s favourite onesies for the longest time before figuring out why.
A properly sized velvet baby hanger fixes this completely. One extra trick that helps is snapping the onesie closed before hanging it, so the bottom does not droop and pull on the neckline.
Dresses and Skirts
Little dresses with spaghetti straps are easy to ruin without realising it. All the weight sits on those tiny straps and stretches them out fast.
I ruined a few beautiful dresses this way before figuring out the fix. Hangers with small notches on the ends hold the straps in place and distribute the weight properly. For skirts and pinafores, clip hangers work best. Clipping onto the waistband keeps everything neat and crease-free on the rail.
Jackets, Hoodies and Coats
Heavier items need proper support. A flimsy plastic hanger under a chunky winter coat will bow in the middle over time, causing the shoulders to lose their shape.
Wooden or sturdy plastic hangers with a wider shoulder span are the right choice here. They support the shoulder seams properly and keep the garment hanging naturally.
I learned that hoodies should always be hung with the hood sitting at the back rather than flopped over the front. It sounds minor, but it genuinely helps the hoodie keep its shape for much longer.
Newborn and Tiny Baby Clothes
Newborn clothes are so small and delicate that almost any standard hanger causes some kind of damage. Thin fabrics stretch easily, necklines widen, and those tiny shoulder seams are simply not built to handle the wrong hanger width. Dedicated baby hangers sized between 28 and 30 centimetres, paired with a velvet surface, are the only real option. No exceptions.
What Size Hangers Do Kids Need at Each Age?
Hanger sizes need to change as kids grow, and most parents never think about this. I kept using the same newborn hangers well into the toddler years, wondering why clothes kept losing their shape. Hanger size matters just as much as hanger type. Here is a simple breakdown by age.
Newborn to 12 Months: Smallest Hangers
Newborn clothes are genuinely tiny, and they need hangers to match. The ideal width for this stage is between 28 and 30 centimetres. Anything wider will stretch the shoulder seams and necklines of those delicate little gowns and vests.
1 to 3 Years: A Little Bigger than Smallest Hangers
Toddler clothes are noticeably bigger than newborn sizes, but still nowhere near ready for standard hangers. A width of around 30 to 34 centimeters works well here. This is the stage where parents often keep using old baby hangers for too long, and clothes start to bunch up and look misshapen on the rail as a result.
4 to 6 Years: The Transition Stage Most Parents Miss
Kids grow fast at this stage, and hangers need to keep up. A width of around 34 to 37 centimetres works well here. It is also worth checking the rail for any leftover toddler hangers, as mixing sizes creates an uneven and cluttered rail.
7 to 10 Years: Almost Ready for Adult Hangers
By this stage kids’ clothes are close to small adult sizes. A width of around 38 to 42 centimetres works well here. Some parents switch to standard adult hangers at this point which is fine for tops and trousers but avoid them for lighter or delicate pieces.
Quick Glance Size Chart by Age
Here is a simple reference to keep things easy:
| Age | Recommended Hanger Width |
| Newborn to 12 months | 28 to 30 cm |
| 1 to 3 years | 30 to 34 cm |
| 4 to 6 years | 34 to 37 cm |
| 7 to 10 years | 38 to 42 cm |
| 10 years and above | 42 to 45 cm (standard adult) |

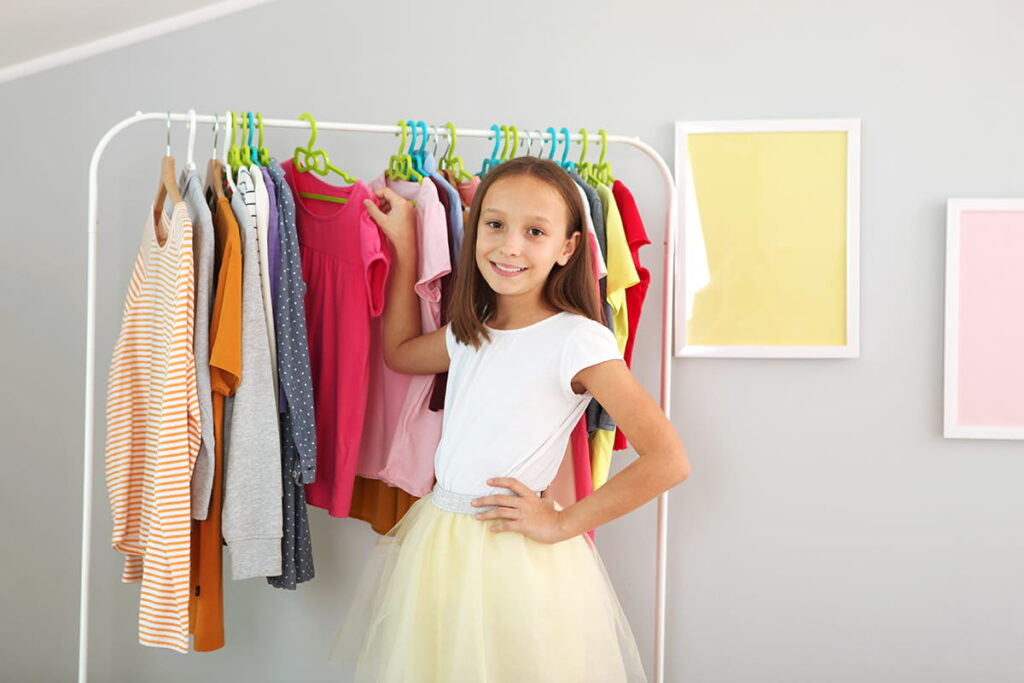
How to Organise a Child’s Wardrobe So It Stays Tidy
Getting a kids’ wardrobe organised feels great for about three days before it falls apart completely. I went through this cycle so many times before realising the problem was not the tidying, it was the system.
Once a proper structure was in place, the wardrobe actually stayed organised without needing a full reset every week. Here is what genuinely works.
Sort by Clothing Type First
This is the foundation of everything, and it is the step most parents skip. Before thinking about anything else, group all clothing by type. Tops together, bottoms together, dresses together, sleepwear together. It sounds almost too simple, but it completely changes how easy the wardrobe is to use on a daily basis.
When everything is grouped by type, grabbing what is needed takes seconds instead of rummaging through a mixed-up rail. It also makes it immediately obvious when a certain category is running low and laundry needs doing before the last three pairs of trousers disappear.
Daily Wear vs. Special Occasion
Mixing everyday clothes with special occasion outfits on the same rail is one of those things that creates unnecessary chaos. Party dresses, christening outfits, and holiday clothes end up getting pulled out constantly during the morning rush and then shoved back in a hurry, which means they arrive at the actual occasion looking creased and tired.
Keep special occasion clothes at one end of the rail or in a separate section altogether. Daily wear should always be the most accessible, right at the front and easy to grab.
I started doing this after pulling out my kid’s party dress one morning by mistake and spending ten minutes rehanging everything. Keeping special clothes in their own section saves that daily frustration and keeps delicate outfits in much better condition.
Seasonal Rotation
A wardrobe packed with both summer and winter clothes at the same time is impossible to use properly. It creates visual noise and makes finding anything frustrating. At the start of each season, pack away clothes that will not be needed into vacuum bags or labelled boxes and only keep the current season on the rail. It also makes it much easier to spot what has been quietly outgrown.
Colour Coding the Rail
Colour coding sounds like an extra step, but it honestly takes about ten minutes and makes everything easier to find at a glance. Simply arrange clothes from light to dark along the rail.
For younger kids, it helps parents spot outfits quickly. For older kids, it is something they can actually maintain themselves. My kid started picking out her own outfits much more independently once her wardrobe was colour-coded, which was a huge bonus.
Wardrobe Mistakes Most Parents Don’t Realise They’re Making
Every parent has made at least one of these mistakes, including me. The good news is they are all easy to fix once spotted.
Using Adult Hangers for Baby Clothes
Adult hangers are typically 45 centimetres wide, while newborn clothes need hangers half that size. That extra width forces the shoulder seams outward constantly, and the neckline widens over time. Those tiny clothes are too precious to ruin this way.
Mixing Too Many Hanger Types on One Rail
A rail with five different hanger types looks chaotic and genuinely makes organising harder. Different hangers have different heights and widths, so clothes end up hanging at uneven levels, and the rail feels impossible to sort through. Sticking to one or two consistent hanger types makes a surprisingly big difference to how neat and manageable the wardrobe feels every single day.
Overcrowding the Rail
When clothes are packed too tightly on a rail, kids genuinely cannot see what is there. Everything gets pushed together, fabrics crease, and the default response becomes pulling everything out to find one specific top. A good rule is to leave enough space between each hanger so clothes can be flicked through easily with one hand. If that is not possible, it is time to either declutter or add more storage.
Not Updating Hanger Sizes as Kids Grow
Kids grow fast, and hangers need to keep up. Keeping toddler-sized hangers on the rail when a child has moved into the 4 to 6 age range means clothes are constantly bunching up at the shoulders and losing their shape. A quick hanger check every time the wardrobe gets a seasonal refresh takes five minutes and saves a lot of misshapen clothes down the line.
Frequently Asked Questions (FAQs)
What materials are used in premium clothes hangers?
Most premium hangers are made from solid beech wood, aluminium, steel, or velvet-coated plastic. Cedar is a popular choice too since it naturally keeps moths away, which is handy for clothes you store long-term.
Where to buy non-slip clothes hangers online?
Amazon, Target, The Container Store, and Wayfair all carry a wide range of non-slip velvet and rubber-coated hangers at different price points. Most offer multipack options which work out much better value.
Which companies offer bulk purchase discounts on clothes hangers?
If you need hangers in bulk, Hangers.com, Only Hangers, and The Hanger Store are the ones most people go to. You will find wooden, plastic, and metal options across all three, usually at wholesale prices.
Conclusion
Who knew hangers could make such a big difference? Honestly, before going through this journey with my little one, hangers were just hangers. But the right hanger genuinely protects tiny clothes, keeps the wardrobe manageable, and saves a surprising amount of money by making clothes last longer.
To quickly recap, velvet hangers are the go-to for baby and lightweight clothes, wooden hangers are best saved for heavier jackets and coats, clip hangers are a lifesaver for skirts and trousers, and dedicated baby hangers are non-negotiable for newborn clothes. Getting these basics right makes everything else so much easier.
If the wardrobe feels overwhelming right now, the best place to start is by pulling everything out and sorting by clothing type. Then check every hanger against the current clothing size and swap out anything that no longer fits properly. Finally, put everything back with daily wear at the front and special occasions tucked away at the far end. It takes less than an hour and the difference is immediately noticeable.
Once it is set up properly, maintaining it becomes second nature. And those sweet little outfits that deserve to be kept in great condition actually will be.
For more helpful guides on setting up a practical and organised space for little ones, have a look at some related reads below.